July 2, 2015
Editor’s note: Part 1 of this screen-making series appeared in the April/May 2015 issue of Impressions and covered different types of screens and screen-preparation procedures.
Screen production is one of the most critical aspects in determining the final quality of your finished product. The final article in this series will review the aspects of the screen room environment and remaining procedures needed to achieve a quality screen that will produce the superior designs your customer expects.
The greatest challenge in creating the proper conditions in a screen-making dark room is cleanliness. Having a lint-free room in a building filled with textiles is almost an impossible achievement. Although it is important to keep all aspects of the screen room and the entire shop as clean as possible, the coating room requires the most attention.
This room should meet the following requirements: It should be light-safe, clean, and climate-controlled for temperature and humidity. From the standpoint of climate control, maintain as low of a humidity level as possible (in most areas of the country). This is much easier in the winter, as most shops will have heaters in the screen room that will dry out the air. In the summer, when humidity levels are higher, controlling that aspect can be a challenge.
Never place a window air conditioner in the screen room. These units typically are made of condensed copper coils, which will only pump moisture into the screen room and actually hinder the screen’s ability to properly dry. The best means of controlling the screen-room environment is to incorporate the central air system, which most facilities have in the office.
Essential screen-room tools include a dehumidifier to draw the excessive moisture from the room. These are available at hardware stores and cost about $170. Also purchase a hydrometer. They are inexpensive and will allow you to monitor humidity levels and temperature. Making these small investments will help ensure you are sending quality screens to the press.
Screen drying is another aspect that is simple, but still important to the process. As you have applied the last coat to the screen on the ink side in order to pass the stencil thickness through to the print side, you should then place the wet, coated screen into the drying rack with the print side down. Drying print side up will allow the emulsion coating to settle back to the ink side of the mesh, yielding undesirable results.
Drying cabinets offer the easiest and most efficient means of properly drying your screens. Most cabinets include a system that keeps warm, dry air circulating around the screens. This allows for a thoroughly dried stencil more quickly. The temperature in these units should be between 80˚F and 90˚F, with a humidity level below 40%.
Some units also have a built-in dehumidifying system for minimizing the moisture content within the cabinet. This aspect of the system is crucial for printers in high-humidity locations, such as the southern United States.
EXPOSURE ISSUES
Emulsions are another aspect of the screen-making process in which many printers do not perform their due diligence to determine the ideal option. Emulsion manufacturers now offer products that perform well with specific inks, such as water-based or discharge. Some emulsions are specific to plastisol inks. Due to their high quality, most photopolymer emulsions will perform ideally for manual textile screen printers who work strictly with plastisols.
Larger, automated printing facilities must do the research for emulsions that will not only withstand the rigors of mass production on automatic presses, but also will handle different media types.
With many larger shops diversifying into plastisol, water-based and discharge inks, they need emulsion that not only can resist those different products, but also the high-production demands. Most printers do not care to have more than one white ink in their shops; likewise, no one wants two emulsions in the dark room.
Do your homework and find one emulsion that will address all the pertinent applications in your facility. Research the products offered by different manufacturers to determine which ones require testing and will perform to meet your production requirements.
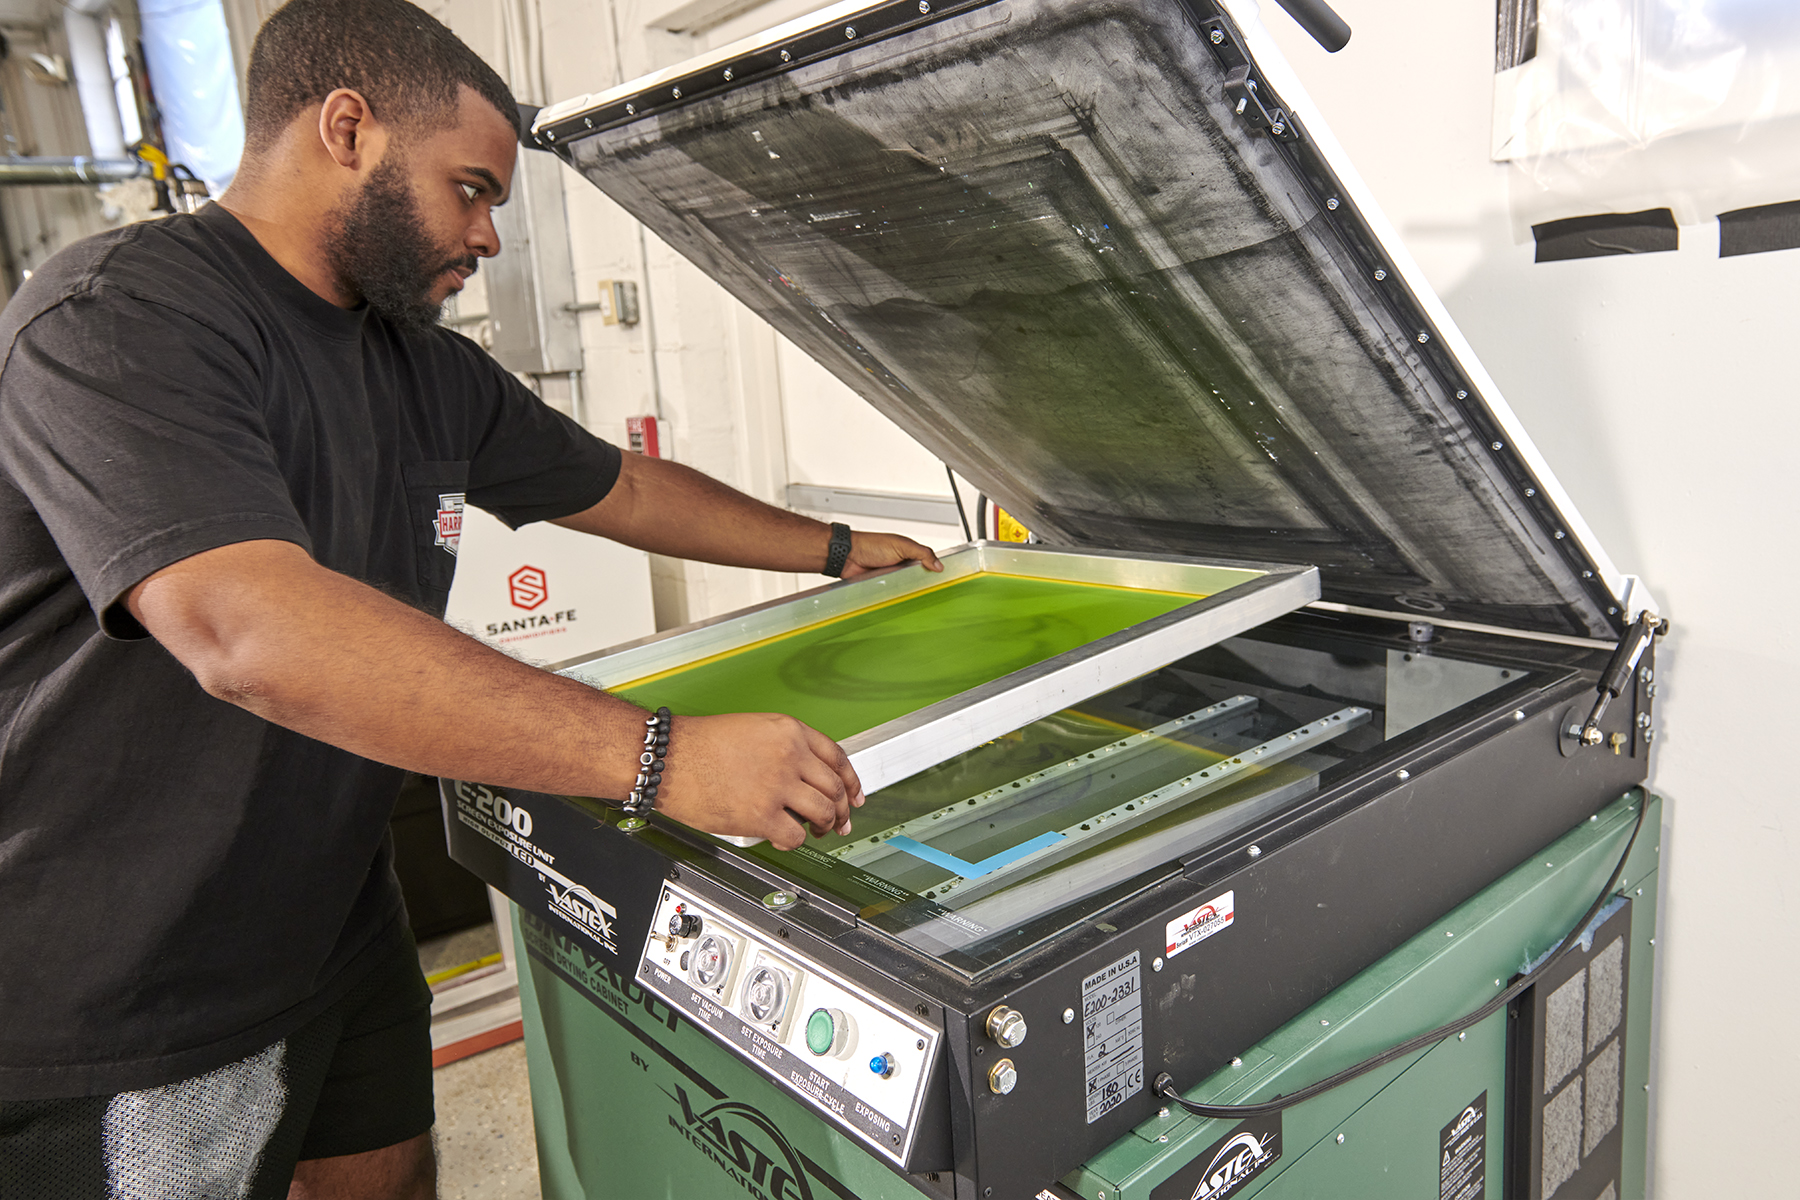
Screen-exposure units offer another challenge when determining the unit in which you should invest. They are available in several different types, including fluorescent tube, quartz, quartz halogen, metal halide and UV LED. Most new screen printers will choose a fluorescent tube system until their volume demands a faster and more powerful one. Exposing a 110 mesh on a fluorescent tube system can take as long as three to five minutes, depending on the sensitivity of the emulsion being used and the UV output of the bulbs.
The new UV LED systems can expose a screen as fast as 15 seconds using the correct parameters, according to some manufacturers. These units offer a drastically increased exposure life over metal halide and quartz bulbs, which require replacement after their one- to two-year life cycles (depending on frequency of use). They also are programmable with different exposure parameters based on emulsion, mesh and stencil thickness. Once you initially check your screen exposure with an exposure calculator, you can input that data into the unit for easy recall, resulting in a more productive and complete process.
A screen-exposure calculator is the most important tool for determining whether your screens are properly exposed, and it is offered by nearly every emulsion manufacturer. As a starting point, you would expose a screen for twice as long as you would normally expose that given mesh. Once exposed and washed out, you can review the results of the filter exposure. If the 0.5 filter shows the preferred results, you know that your exposure will be 0.5 times the amount of time used in the test exposure.
This is just one example of how an exposure calculator allows you to calibrate your screen exposure. It lets you dial in the maximum resolution and optimum exposure achievable for your screen photography parameters.
AUTOMATED EQUIPMENT
For larger shops with budgets that allow investment in capital equipment, automated units are available that remove the human variable from the screen-making process altogether. These units often are custom built, depending on the process requirements of the facility. You can order units that will strictly clean a dirty screen and leave the original stencil for reorders. There also are units that will clean the ink, then reclaim, degrease and dry the screen. For shops with multiple automatic presses that produce hundreds of screens a day, these units are a valuable asset. When doing your research, seek other printers who use this equipment and get their input on its performance.
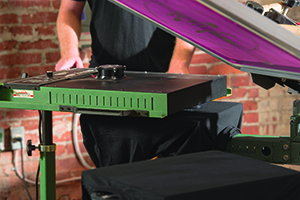
Automated screen coaters allow you to program them for any combination of coats on the respective sides of the screen you desire. You also have complete control over coating pressure and speed. Not only do these units improve productivity when compared to manual coating processes, but they also offer a level of uniformity that is unachievable with the latter.
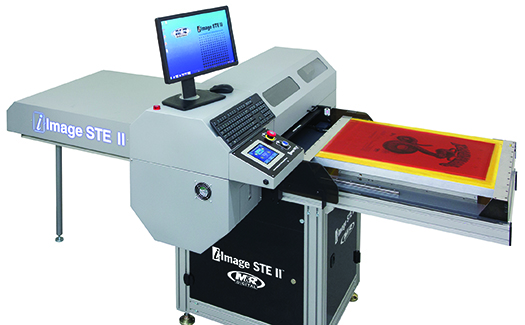
Also, direct-to-screen (DTS) imaging systems have all but replaced traditional film positive systems. Whereas film positives have been the norm for decades, DTS imaging systems allow you to image the screen directly and eliminate the film positive altogether. The advantages these units offer are:
• Imaging and exposure of a screen in less a minute
• Eliminates the handling, cost and storage hassle of films
• Improved resolution
• Higher productivity
• Faster set-ups when used with a pre-registration system.
DTS systems will image and expose screens in two steps, allowing for faster processing and productivity. When combined with automated coating and reclaiming systems, they eliminate the human variables from the process and drastically improve output and quality. Though they represent a capital investment, these units will pay for themselves in short order compared to the film positive methods.
Always remember that the quality of your screen is directly proportional to that of your finished product. It is important to select the right products and equipment, and establish the correct procedures to ensure you are producing the highest-quality screen possible.
Rick Davis is the southeastern regional sales manager for Triangle Ink Co. He is a 35-year veteran of the textile screen-printing and apparel manufacturing industries. His background includes plant design, management and troubleshooting, and he also is a member of the Academy of Screen Printing Technology. For more information or to comment on this article, email Rick at rickd5050@yahoo.com.
Hear Rick speak on screen-printing topics at the Imprinted Sportswear Shows (ISS). Individual seminars are just $25 if you pre-register: issshows.com.
Suggested Reading
Like this article? Read these and other screen-printing articles at impressionsmag.com:
• “Screen-Making Techniques, Part I”
• “Screen Making 101”
• “Printing on Baby Rib Knits”
March 20, 2024 | Production
As with pretty much any business, one of the keys for apparel and T-shirt decorators running a successful custom screen-printing shop is having the right equipment, first and foremost, the right press, or presses.
FULL STORY
March 15, 2024 | Production
As is the case with flash units and dryers, screen exposure units, computer-to-screen-systems and washout booths are critical to successful screen printing of T-shirts and other apparel
FULL STORY
January 16, 2024 | Production
Go to any industry trade show or visit an actual custom apparel screen-printing shop, and your eyes will naturally be drawn to the press, or presses there. This is true whether the shop in question employs a single manual press or is running multiple autos.
FULL STORY