October 4, 2013
I think many screen printers lose profits due to having inefficient screen departments. They either are in a hurry to push out production, so they take shortcuts in hopes of speeding up the screen making or reclaiming processes, or they are inexperienced and don’t realize they are not using proper procedures and techniques.
Any time spent fixing a “bad” screen means you are losing money. Once a screen is on press, if the stencil breaks down, you are not being compensated for the time and materials it takes to reshoot the screen.
On-press problems are not only the result of improperly made screens, but also poorly cleaned screens. Your screen reclaiming department is every bit as important as your screen making area (See “How to Improve Your Screen Making Efficiency,” Impressions, August 2013). In this article, I will discuss the proper way to clean screens, and how you can avoid wasting a lot of time and money using the wrong chemicals and techniques.
REMOVING INK
The first step of the screen reclaiming process is to get as much ink as possible out of the mesh without damaging it. The biggest mistake many printers make is leaving a large amount of ink in the screen when it goes to the reclaiming area. But if you get too aggressive when scraping out ink, you can weaken the screen. While you don’t want to be too rough, not thoroughly removing excess ink contributes greatly to wasted time, cost and mess.
I strongly recommend using the proper chemicals to clean screens. Do not use mineral spirits. Talk to suppliers and peers, do some research, and find out the chemicals that are recommended for cleaning screens that will be stored and reused.
The reclaiming process consists of three or four steps, depending on how good of a job you do. The first screen cleaning chemical you will use is either an ink degrader or ink remover, which works through dilution. You put a lot of cleaner on the screen and it slowly dissolves the ink. As the ink dilutes, rags are used to wipe it out of the screen. This product also is referred to as “spray and wipe.”
Proper disposal is necessary for the rags because they are soaked with the solvent. You cannot just toss them in the trash. Most printers use a waste management or disposal company, such as Safety-Kleen.
An ink degrader, also known as “spray and wash,” breaks down ink components instead of diluting them. The individual chemicals in plastisol ink, which include pigments, resins, plasticizers and various fillers — such as opacity builders — are separated.
Once separated, the ink loses it adhesive nature or stickiness, which makes it possible to remove it from the screen by lightly scrubbing and rinsing the mesh. Drain-safe screen washes are available on the market, depending on where you live.
What you can legally wash down the drain varies from region to region. California typically has the most restrictive regulations. It’s important to contact the local water utility or publically owned treatment works (POTW) facility to get information regarding what is legally allowed in your area.
Volume usually dictates where you clean your screens and the type of equipment you use. When talking to a supplier or mentor about the best choice for your shop, you’ll need to estimate the number of screens you’ll be cleaning per day. It can be done on a table, in a sink or in a dip tank.
I’d like to stress the value of talking to suppliers when making product and equipment choices. These companies are staffed by experts who have seen people clean screens correctly and incorrectly. Even if they are trying to sell you a high-dollar-per-gallon product, they also are teaching you to do it correctly.
In my experience, the correct way also usually ends up being the cheaper way. For example, you may use a half-ounce of a more expensive product versus 8 ounces of a cheaper product to get your screen cleaned. When making product decisions, make sure you understand the true cost of the product and your time.
REMOVING EMULSION
After removing the ink, you must remove the emulsion. Think of emulsion as glue that encompasses the hardened areas on the screen that served as your stencil. You now have to dissolve that solid. To do this, emulsion removers, also known as strippers, are available on the market that vary greatly in price.
You can buy emulsion removers that are ready for use (RFU) for a relatively low per-gallon price. You also can buy granular solids that need to be dissolved or liquids that need diluting. The solids are more expensive, but you can make gallons of product. This type also gives you control over the concentration.
When buying these products, cost per screen becomes an issue. When you purchase emulsion remover in the concentrated solid form, you are not paying to ship water. With the concentrate, you can dilute it 100 to one, and only have to pay hazardous materials shipping on a 1-gallon container. Or you can pay to ship 99 gallons of water. Talk to your supplier for help deciding what’s best for your shop. Regardless of your choice, make sure you allow it to work correctly at the right concentration, temperature and time.
When you use the right chemicals and follow the instructions, you typically won’t have problems with hazing or ghosting. These are stains that remain in your screen after you finish cleaning it. If you still can see part of the image on your screen after cleaning, you have used the wrong chemicals. This problem typically occurs when mineral spirits are used because they lock stains in. Any petroleum-based product will burn the image into the mesh.
This is why a tech rep from an industry vendor usually starts a visit with questions about what you use as a press wash rather than removing emulsion. You have to define the potential problem first.
Haze remover is designed to remove persistent stains, but you shouldn’t use it because, similar to toilet bowl or pool cleaner, it is very caustic. It works by eating off the surface of the mesh. Once you have used a haze remover, the mesh becomes reduced in diameter and, therefore, brittle. Thus, it will no longer allow you to achieve and maintain optimal tension. This forces you to print with a low-tension screen. The array of problems this creates is the subject of another article.
In addition, when the mesh is stained or hazed, old ink gets caught in the knuckles of the mesh. If your previous job used forest green ink and now you’re printing with white ink, you’re likely to find tiny green specks in the new ink. The white ink acts like a solvent on the haze that you didn’t remove from the screen the first time.
Haze prevents your new image from exposing correctly, and the old image transfers onto the new one. If you are trying to print detail, it becomes even more of a nuisance.
THE FINAL STAGE
The last step in the screen cleaning process is degreasing. You don’t always have to degrease, but if you are having problems, such as emulsion not sticking, it means the screen was not properly cleaned.
Usually, using too much ink degrader or emulsion remover causes this problem. Regardless of the cleaner you use, there are no shortcuts in the amount of time, effort and water it takes to remove the ink and emulsion from the mesh. If you didn’t do it correctly the first time, a degreaser will finish removing the residue.
Your need for a degreaser is a sign of your screen department’s efficiency. It’s not economical to use too much product, wash it down the drain and then have to purchase another product to finish removing the original product.
Inexperienced screen printers will go to a local discount store and purchase a product like Simple Green. It smells like citrus, and some people think it also works similarly. The big difference is that these products are mostly water with a citrus scent. But it only costs $5 versus $30 for the industry product. If you use scented big-box store products, the perfume sticks to the screen and will cause emulsions to adhere irregularly.
Another cleaning method you may want to consider is using a dip tank, which is a container large enough to hold one or more screens. You fill it with the proper product(s), and it degrades the ink and softens the emulsion to make reclaim faster. I have found this to be the fastest, most economical way to clean screens.
Screen cleaning can be a messy job and not a popular one, but it has a tremendous impact on your bottom line. Doing it the right way saves you time and money. If you want to be more profitable, consider some of the aforementioned tips that will improve efficiency in this area.
Greg Kitson is founder of Mind’s Eye Graphics, Decatur, Ind. For more information or to comment on this article, email Greg at greg@mindseyeg.com or visit mindseyeg.com.
March 20, 2024 | Production
As with pretty much any business, one of the keys for apparel and T-shirt decorators running a successful custom screen-printing shop is having the right equipment, first and foremost, the right press, or presses.
FULL STORY
March 15, 2024 | Production
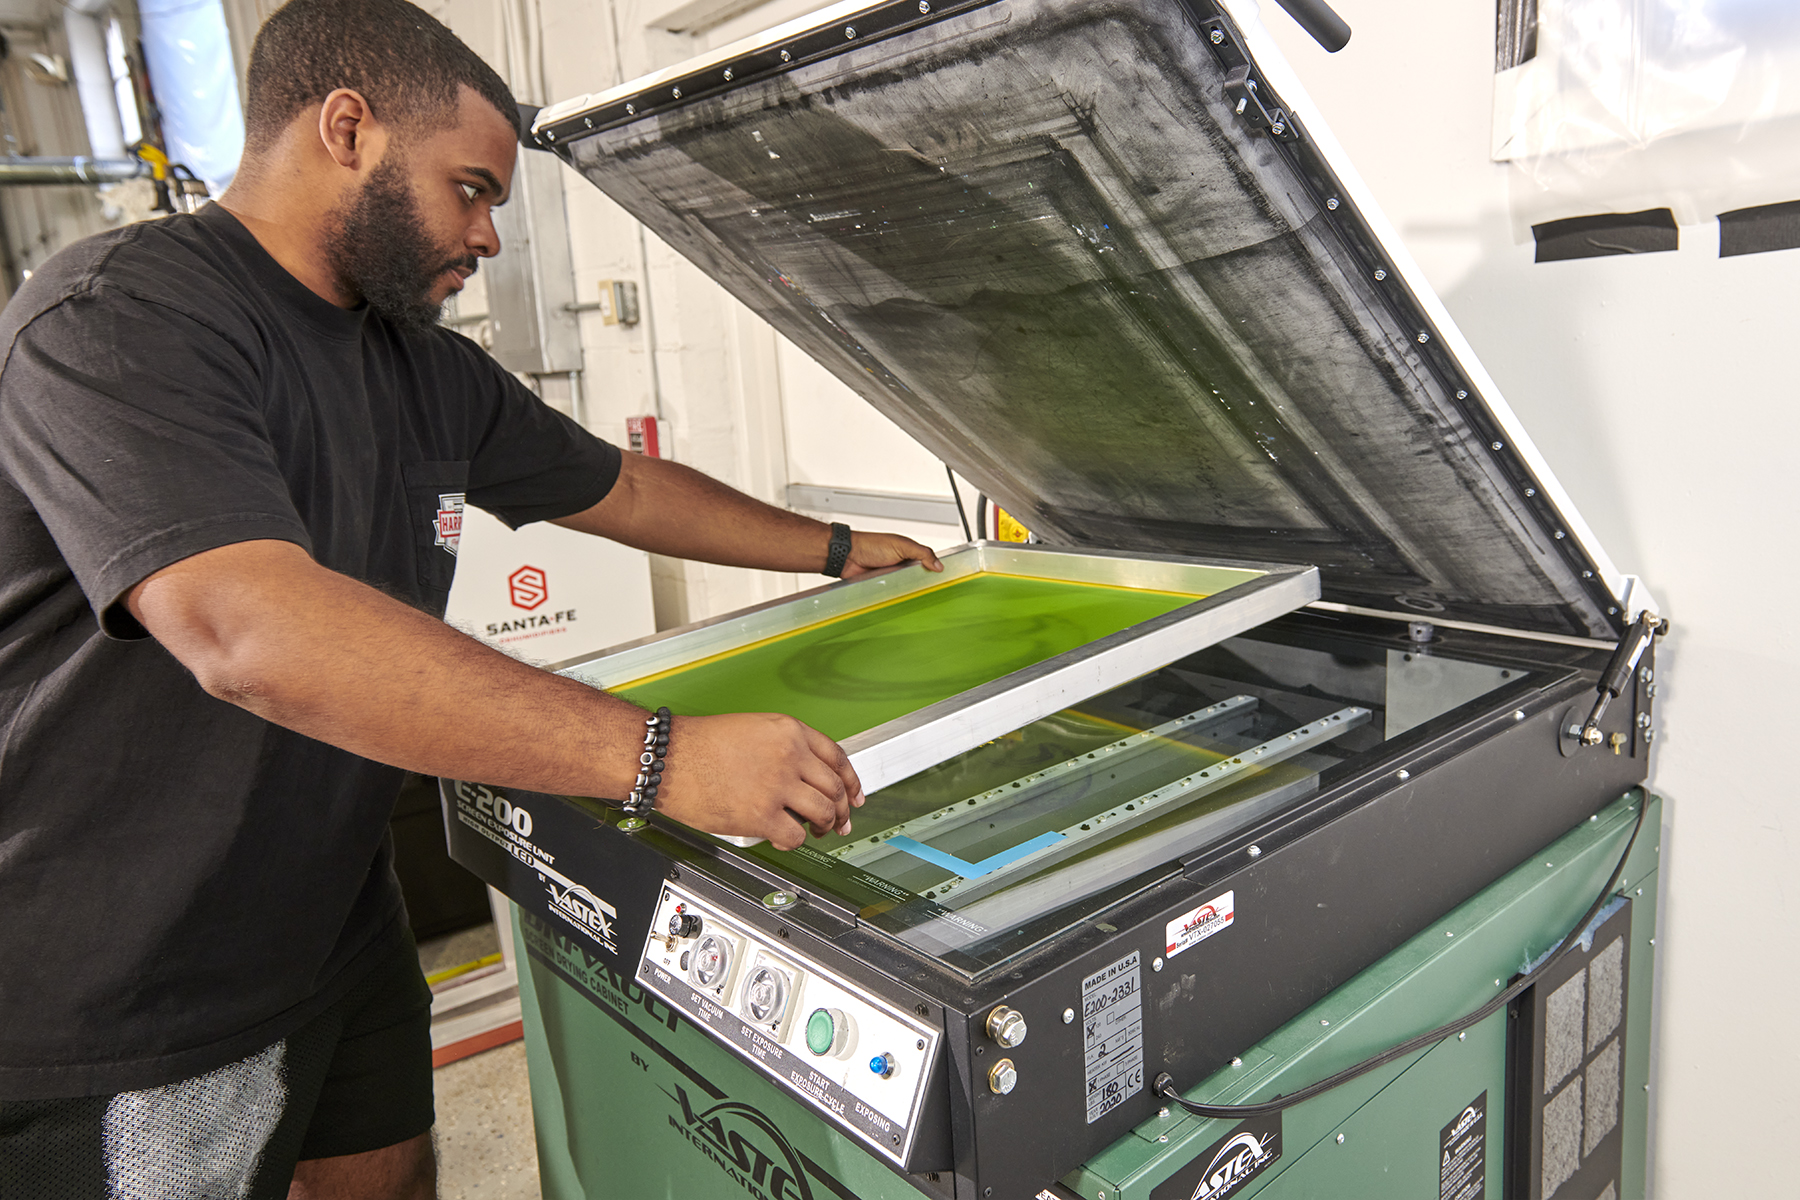
As is the case with flash units and dryers, screen exposure units, computer-to-screen-systems and washout booths are critical to successful screen printing of T-shirts and other apparel
FULL STORY
January 16, 2024 | Production
Go to any industry trade show or visit an actual custom apparel screen-printing shop, and your eyes will naturally be drawn to the press, or presses there. This is true whether the shop in question employs a single manual press or is running multiple autos.
FULL STORY