June 27, 2013
New screen printers — and even many experienced ones — eventually ask one common question: “What mesh count should I use for this job?”
Mesh count and a variety of other nuances make a major difference in your screen printed design’s quality. Given the exact same artwork, and without art modification, three different screen printers would produce three noticeably different results. Variables like ink, pressure and equipment type are, of course, factors, but mesh count also is a major component in every job.
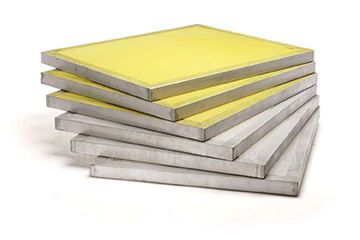
The mesh size is a measurement of how many threads there are per square inch. Mesh count is simply the number and space between adjacent threads in your screen. The higher the mesh count, the finer the holes and the finer the detail. Mesh openings determine the maximum particle sizes of ink that can flow through the screen. These openings affect how detailed a print can be. Common wisdom is that the maximum particle sizes must be less than 1⁄3 of the mesh opening.
There are too many details concerning mesh type, geometry, color and size to specifically address, but for our purposes here, we can generally say that there are fine meshes and coarse meshes.
THE SCREEN-DOOR ANALOGY
Here’s an analogy that may help you understand how screen mesh works: If you took the screen door off of your house and you coated it with emulsion and tried to print a 12-point font, you would get a blur and blob-filled mess. Why? Because the holes in the door’s screen, which resembles mesh, are far too big and let far too much ink through the openings to hold a font that small.
Small details need small mesh. The holes in a screen door’s mesh are larger than a 12-point font, so it can’t possibly hold that detail.
Using the same analogy, if you wanted to screen print a circle with a 12-inch diameter using a screen door’s mesh, you could achieve the desired print because the design is much larger than the mesh. Your print may have a jagged perimeter, but the design would be recognizable.
Mesh size is not always the only factor in the outcome of a screen printed design. Mesh geometry impacts fine lines and details like halftones, crisp resolution on edges, thickness and ink consumption while printing. Mesh count and thread diameter are the biggest factors in mesh geometry, but we can examine that concept at another time.
Now that we know that fine mesh enables fine details and allows the printer to use less ink and coarse mesh enables coarse detail and more ink usage, what’s next?
Screen printers need to determine what their design requires to look its best. For example, white prints work best with thin threads, low thread counts and maximum blade volume, but blues print best with low counts, thin threads and maximum blade speed.
The list goes on and on, with different criteria being pertinent for different fabrics, ink colors, and mesh sizes and types. When designing for a garment, the artist should be trained on what criteria is important to the client for a crisp, clean print.
Experience and practice are the only true ways to select the best mesh for your work. Just keep in mind the aforementioned basics.
Darren Amato is a partner at AMBRO Mfg., dba Special T’s, in Flemington, N.J. He has been in the decorated apparel industry for 23 years. The company, founded in 1990, specializes in screen printing, embroidery, digital direct-to-garment printing, rhinestones, vinyl decoration and sublimation. For more information or to comment on this article, email Darren at darren@special-ts.com or visit ambromanufacturing.com.
5 Tips for Screen Prep
Though it may not be rocket science, prepping a screen for screen printing involves a few different variables. You must make special considerations for factors like mesh count, diameter and more if you want your printing efforts to yield acceptable results. Following are five considerations that are very important to effectively prep a screen that will enable maximum results when you’re printing.
1. Select the proper mesh count. The proper mesh count will help to determine the amount of ink that is deposited on the substrate onto which you are printing. Choose low mesh counts for special-effects inks such as glitter (25-40 mesh), reflective or puff-type inks (110-125 mesh). Choose high mesh counts (200-305) for more detailed or soft-hand prints.
2. Select the desired mesh thread diameter. A thinner thread diameter for any given mesh count will reduce the overall fabric thickness of the mesh and allow more ink to be deposited onto the substrate due to lower flow resistance and larger open area. The thinner thread diameter results in larger mesh openings and, thus, makes printing easier.
3. Make sure your screen frames are clean, straight and level. Properly cleaned and leveled frames will help ensure that the printed image comes out crisp and clear.
4. Tension the mesh properly. Follow the manufacturer’s instructions for the ideal tension recommended for the specific mesh being used. Make sure the tension is equal in both warp (lengthways) and weft (crossways) to achieve uniform mesh openings. Once the ideal tension is achieved (measured in Newtons with a tension meter), tension the mesh in the frame, let it sit and then retension again, if needed.
5. De-haze and degrease both sides of the mesh. De-hazing removes ghost images of previous designs, ink stains and other impurities that may have accumulated on reused mesh. Although it may not be necessary to de-haze each time a screen is reclaimed — depending on how much detail the next design requires — it is a good idea to de-haze periodically, perhaps after two or three jobs. Degreasing is an important step before applying emulsion to the screen to remove oils, dust, fingerprints, and other grime that may have settled on the mesh. This step can improve the adhesion of the emulsion and prevent pinholes and other imperfections, which may show up if the emulsion is applied over dirty mesh.
Source: International Coatings Co.
March 20, 2024 | Production
As with pretty much any business, one of the keys for apparel and T-shirt decorators running a successful custom screen-printing shop is having the right equipment, first and foremost, the right press, or presses.
FULL STORY
March 15, 2024 | Production
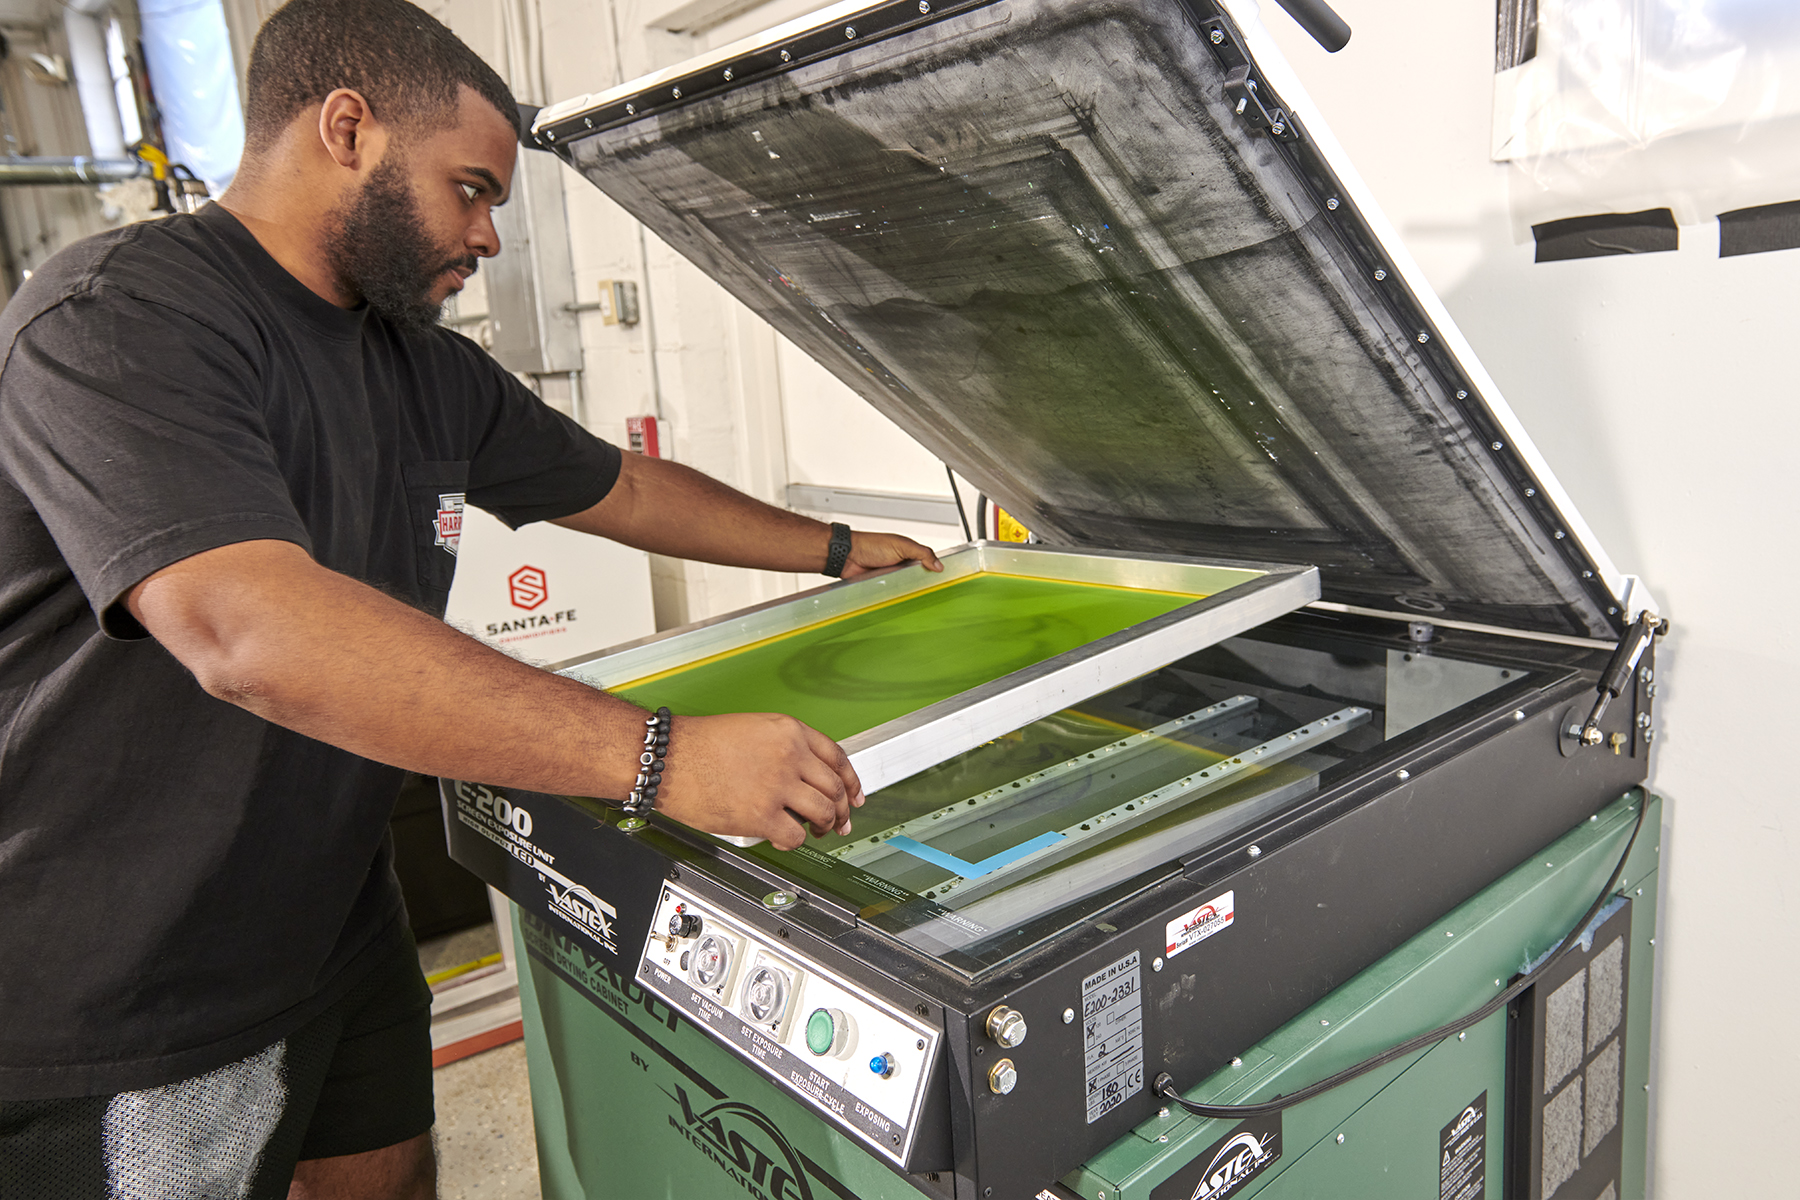
As is the case with flash units and dryers, screen exposure units, computer-to-screen-systems and washout booths are critical to successful screen printing of T-shirts and other apparel
FULL STORY
January 16, 2024 | Production
Go to any industry trade show or visit an actual custom apparel screen-printing shop, and your eyes will naturally be drawn to the press, or presses there. This is true whether the shop in question employs a single manual press or is running multiple autos.
FULL STORY