5 Crucial Steps to Starting Out in Embroidery
It’s time to start making an income from your creativity and your embroidery machine. The following five steps are critical to ultimate business success
FULL STORY

There always has been a love-hate relationship between embroiderers and metallic threads. We — and more importantly, our customers — like the look of metallic thread. It provides an extra sparkle to our embroidery — a little bling. And in today’s fashion world, bling is bigger than ever.
Sewing with metallic thread, however, is another story. Everything that makes it such a pretty thread — namely the metal finish — makes it difficult to use. It can fray and break. Sometimes it makes loopy stitches and can make designs look “blobby,” as a customer once described it.
Learning to deal with the nuances of metallic thread can make your life as an embroiderer a little easier. In dealing with these nuances, it helps to understand how thread is made. Most metallic threads have a core strand of polyester, which is wrapped with aluminum. The aluminum is tinted to be the desired thread color.
The bulk of the aluminum makes the thread slightly larger than regular thread. Its metallic nature causes it to kink easier, while not always laying as flat as regular thread. Winding metallic thread onto a cone gives it a spring-like property as well, which gets worse as it is wound tighter. So as the cone starts to run low, these problems are compounded.
Many metallic threads are even twisted and wound differently than conventional threads in an effort to minimize these issues. I have seen a few brands that are wound onto the cone in the opposite direction as conventional thread. This tells me that thread manufacturers are doing what they can to make metallic thread work as best as possible.
WHAT CAN BE DONE?
The first thing to do to combat issues that surround dealing with metallic thread starts with its basic companion: the needle. Because metallic thread is slightly larger than typical thread and is less flexible, it helps to have a larger needle eye for the thread to pass through. Some needle manufacturers advertise a “large-eye” needle. Typically, the needles in most industrial machines (DBxK5 system) have large eyes. Personally, I like to go up one needle size when sewing with metallic thread. This gives the thread a little more room to maneuver.
The average embroidery needle size is 75/11. While this is adequate, using the next size up (80/12) gives you a little more room for error or, in this case, it allows for the coarser texture of the thread to pass through with less friction.
Changing the needle size is just one part of adjusting for the thickness of the thread. Depending on the complexity of the design, the stitch density may have to be adjusted for metallic thread. Designs created for metallic thread don’t need as much density as regular designs. The stitch density can be up to 10% less when sewing with metallic thread compared to regular thread. This reduced density will keep the thread from piling up on itself, which creates the little “blobs” in the design.
If you don’t do your own digitizing, and sometimes even if you do, you don’t have control over the density. When these situations arise, the simplest thing to do is slightly enlarge the design — normally between 5% and 10% will do. This spreads the stitches out just enough to resolve any problems you may experience but it is not large enough of a change to be noticed. Be sure to turn off any stitch processing so that the software doesn’t add stitches to the design. All you want to do is to spread the design out a little to make room for the slightly larger thread.
In addition to compensating for the larger thread, sewing with metallic thread requires dealing with the tension and sewing issues that occur as a result of the thread’s composition. Expect to slightly increase the tension when using metallics because the finish adds more mass to the thread, requiring more pressure from the tensioners to control it as it works its way through the thread path.
The biggest challenge when using metallic thread is that it likes to kink up as it spools off of the cone due to its coarse texture. The additional tension helps with this a bit, but sometimes more steps are necessary.
For instance, I like to position metallic thread as far from the needle as possible. On a typical multineedle machine, this means putting the cone of thread on the holders toward the back. I have even seen embroiderers put a problematic cone of metallic thread on a shelf behind the machine or on the floor. Those are more extreme circumstances, but you get the idea. The thread needs time to literally work the kinks out.
A better solution to aid with the kinks that may form in the thread, as well as its springiness as it unwinds (which often causes the kinks), is to place a thread net over the cone. This accessory keeps the thread tighter against the cone as it spools off so that it doesn’t create the loose winds and loops that cause kinks and other problems. The thread spools smoothly out of the top of the net.
Thread nets are available from most places that sell thread. Some machines even come with them included in the tool kit. Some embroiderers use other options that accomplish the same thing, such as panty hose or the netting around flowers when they are delivered to florists. The idea is that you want something around the thread to keep light pressure on the cone that keeps it unwinding smoothly.
Due to all the variances for metallic thread, it is not a bad idea to set up a specific needle on the machine to sew it explicitly. This, of course, depends on how much you sew with metallic thread and how many needles you have at your disposal on your machine. I sew with metallic quite often and I have 15 needles from which to choose on my machine. Therefore, choosing to tune one of those needles to sew metallic thread was a no-brainer.
Of course, this isn’t imperative. Many embroiderers switch back and forth between regular and metallic threads all the time. Being aware of the adjustments needed helps quite a bit. Using thread nets minimizes the need for adjusting the tension between the two. Mainly, understanding the thread itself helps with overcoming the obstacles that may occur when sewing with this type of thread.
Understanding why it behaves the way it does is really the key to successfully working with metallic thread. Then, you can put in place the steps necessary to overcome those challenges. More importantly, you can add a little bling to your embroidery by using metallic thread. This, in turn, may add a little “cha-ching” to your cash register!
Steven Batts, a consultant with more than 17 years experience in the embroidery industry, owns Righteous Threads, Greensboro, N.C., which offers digitizing, embroidery and machine maintenance services. Steven regularly leads seminars at ISS shows and is an industry speaker and consultant. For more information or to comment on this article, email Steven at righteousthreads@gmail.com.
It’s time to start making an income from your creativity and your embroidery machine. The following five steps are critical to ultimate business success
FULL STORYWhile embroidered and woven patches have similarities, there are differences to be aware of when choosing the best one for your particular decorated apparel application.
FULL STORY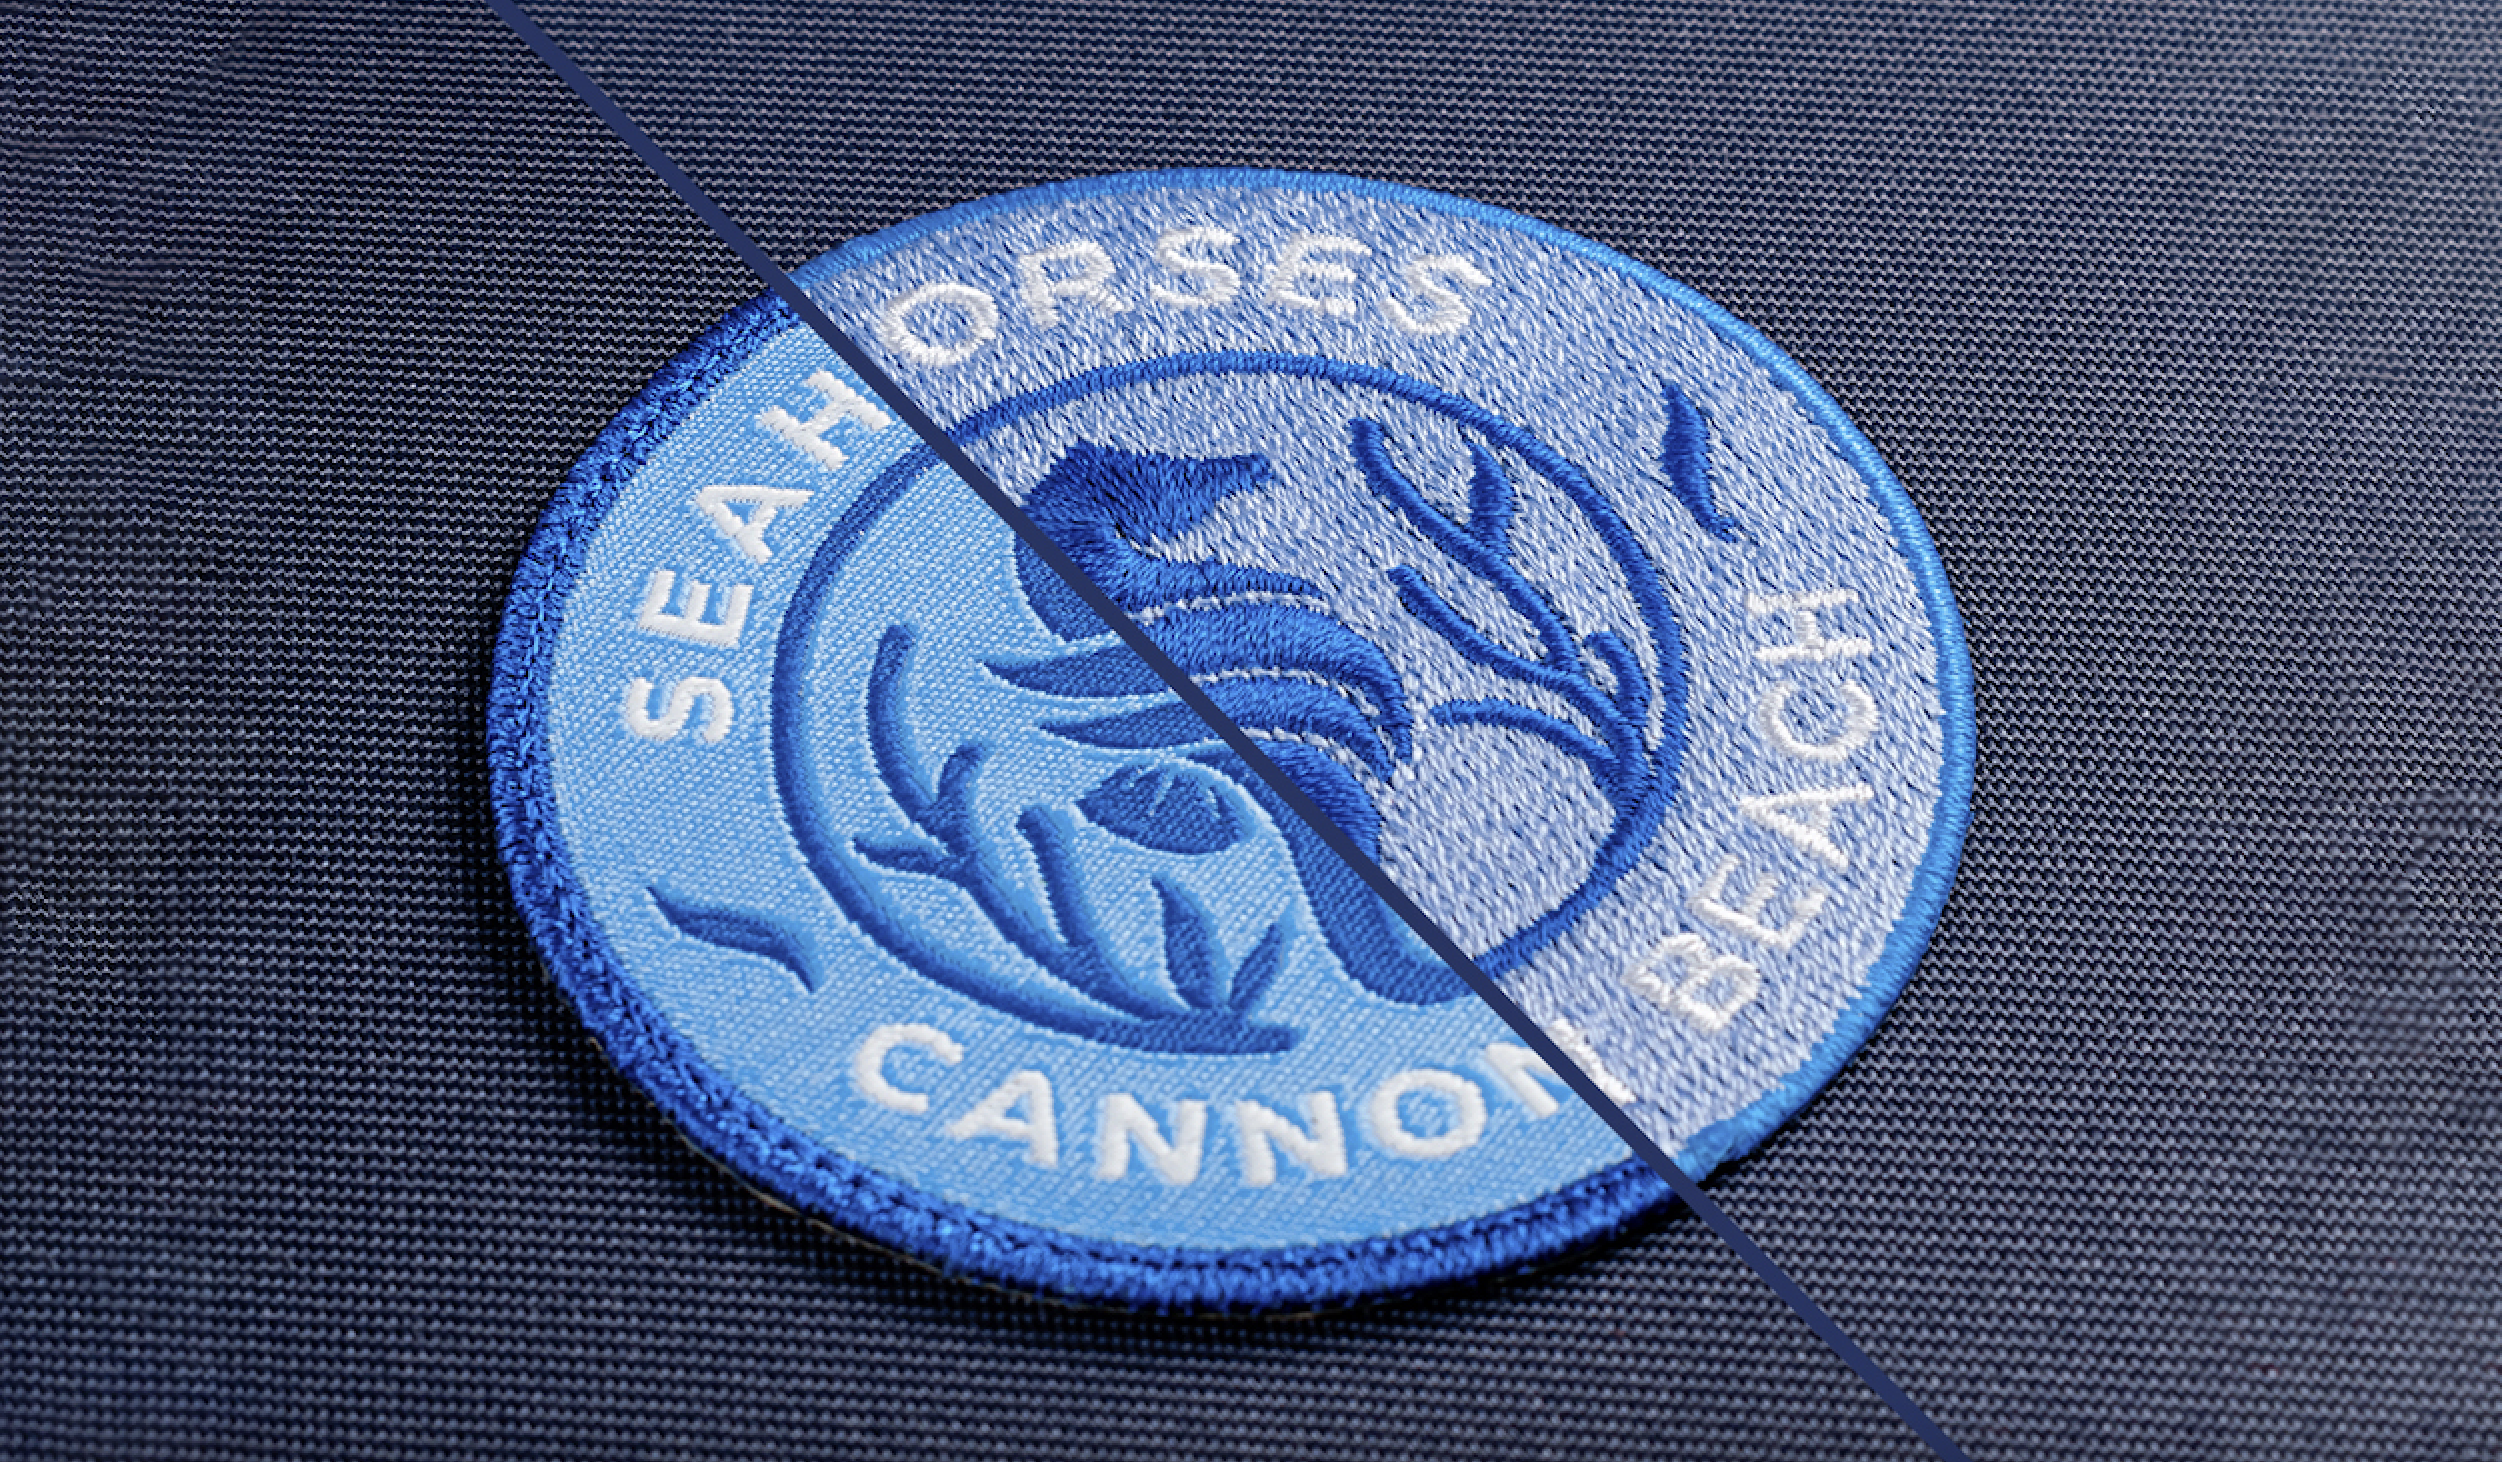
When the weather is warm, savvy embroiderers turn their thoughts to jackets and gear up to make some masterpieces. Wait… what??
FULL STORY