5 Crucial Steps to Starting Out in Embroidery
It’s time to start making an income from your creativity and your embroidery machine. The following five steps are critical to ultimate business success
FULL STORY

Growth and change often go hand in hand, and the latter isn’t always easy or smooth. Deciding whether revenue supports the extra expense of adding a new employee to your shop is a big decision; the smaller the shop, the bigger the decision.
Time spent in training takes dedication, patience and empathy, but it can pay for itself through increased efficiency and more profitable production. Your approach to training — the organization of what to include and its delivery — will set up new employees for success or failure, and will affect your business accordingly.
For a realistic learning curve, establish some short- and long-term goals with clear expectations. Details should include what you expect, how quickly you hope to achieve it and the part you expect the new hire to play in your overall business plan. Above all, communicate; the amount of clarity you have with your new hire will determine how quickly and successfully that person meets your standards. Providing an outline of what the employee needs to learn will strengthen his foundation in your company. Reviewing progress, as well as strengths and weaknesses, will prove to be valuable.
“Everyone learns differently, so come up with several training programs that will best fit the individual,” says Rich Medcraft, master digitizer and embroidery, StitchWise Embroidery Design. “For example, some [people] learn by doing, while others learn by reading instructions. Perhaps come up with a manual for the employee to refer to. And by all means, discuss with your new employee what training method works best for them.”
A good training program for your embroidery shop’s new employee will include the following:
1. Machine Operation: Because each embroidery machine works differently, training may need to include information from more than one manufacturer, depending your shop’s equipment. Keep manuals handy and encourage their review.
“It may be necessary to provide training on several different machines,” Medcraft says. “Perhaps just start with one [machine] to allow the new employee to gain confidence before branching out to other machines.”
Choose the embroidery machine most likely to be used by your new hire and encourage proficiency with its use. “Understanding the tracing process is crucial to avoid major machine damage,” Medcraft says. “Hitting a hoop can break reciprocators, which can lead to down time and expensive repairs.”
2. Hooping: Whether it’s a necessary evil or art form, hooping requires patience and a feel for what is right. “Taut” and “tight” may look like similar words, but too-tight hooping will result in puckering and unacceptable results. “If you use a rubber mallet to push the inner hoop into the outer hoop, your hooping is too tight,” advises Nancy Mini, Madeira USA’s senior marketing coordinator and backing specialist. “For large jobs, set all of your hoops the same and keep them that way. And by all means, avoid pulling or tugging on your fabric once it’s been hooped.”
Including a quality stabilizer should ease the hooping process and provide best results.
3. Stabilizers: “The majority of embroidery will be done with a cutaway stabilizer,” Mini says. “Cutaway stabilizers not only provide optimum stability, they last throughout the life of the garment. Tearaway stabilizers should only be used if the fabric itself can support the design throughout the garment’s life. Choosing a tearaway for the ease of tearing it away vs. having to carefully cut away a backing can cost you repeat business if your customer does not return due to delivering poor quality and performance.”
Long ago, there weren’t an abundance of stabilizers from which to choose. Today, pushed by the need to stabilize knit fabrics that are thin, stretchy and slippery, there are many more choices available in the marketplace.
“Consider experimenting with the newer “no-show” options on the market today,” Mini says. “They work very well with lightweight dress shirts, oxford cloth and especially well with the materials used on performancewear.”
4. Thread: Train your new employee to understand the attributes of various embroidery threads. If you primarily use rayon or polyester thread on your machines, make certain you’ve explained the reason for this. Choose thread based on the end product; if there is a chance your customer may place an embroidered product into wash water that contains bleach, choose polyester thread. If it’s high-end luster and an intricate design that is best served by using a softer thread, choose rayon thread.
Problem solving with thread is an important lesson to be learned. Logos with small lettering or fine detail will run best with a thinner, 60-weight thread. Customers looking for something unique to set them apart may prefer metallic thread.
Some threads will require a needle change if they are thicker or thinner than general-purpose, 40-weight thread. New employees must learn how to set proper upper-thread and bobbin tensions to support different thread types while avoiding problems such as birdsnests and looping. Remember to also review the proper machine speeds for best results based on different thread types.
5. Needles: Knowing the appropriate needle to choose for each project, as well as proper installation, are keys to good results and efficiency.
“Needles can greatly affect efficiency,” says Erich Campbell, partner relationship manager at DecoNetwork. “Using the wrong needle with a specialty thread that requires a specific needle [size] makes for unnecessary thread breaks. Using needles that can’t hold up to thick caps can lead to breaking or excessive deflection, and poor quality issues, which would lead to spoilage. And using sharp needles on some delicate fabrics can lead to holes and cuts.”
Solving problems that arise from making the wrong needle choice is counterproductive and adds to downtime.
6. Machine Maintenance: In support of the single, largest capital expense in your business, new hires need to understand the importance of regular machine care to avoid downtime and consequent revenue loss.
“The one thing that I would say to all [embroiderers], no matter what machine they have, is to always follow the manufacturer’s guidelines when it comes to maintenance,” says Marcia Chabot, a machine technician at Backyard Kreations. “You would not purchase a brand new car and [neglect to] do oil changes and all of the other recommended maintenance that comes with it. You should do the same for your embroidery machines.”
Technicians are costly and have busy schedules, so setting up a regular machine-maintenance schedule by the day, week and month — depending on your volume — will save money in the long run. “If your machine is working hard for you,” adds Chabot, “it needs to be oiled on a daily and weekly basis. Good maintenance will really pay off.”
7. Organizing for Efficiency: Once you’ve decided to add more staff, you’ll need to not only focus on making money, but also on saving time. Think of your new hire as an opportunity for both, and instill in that employee good habits and the ability to make knowledgeable decisions from the beginning. This is where communication comes full circle and will contribute to making your shop efficient and profitable.
“Implementing and maintaining efficient processes in your shop require proper training, especially when it comes to information,” Campbell says. “Only when everyone in your organization sees that information is being recorded regularly, completely and in the same format, will they see that information as useful and trustworthy.”
Beyond streamlining order information, good habits should be initiated with and encouraged from new hires. “We think of machine efficiency and floor plans, but we must think of the individual,” Campbell says. “All travel to find tools, supplies and orders should be minimized. And each station should have a simple set of all critical tools — stabilizers, adhesives and anything the operator may need — in order to cut down on footsteps and the need to scramble for supplies.”
Alice Wolf is the manager of education and publications for Madeira USA. She began doing marketing and public relations for the art industry in New York, and then migrated north to Madeira’s New Hampshire headquarters. For more information or to comment on this article, email Alice at awolf@madeirausa.com.
Key Training Elements
Machine Operation
• Safety
• Programming Designs
• Assigning Thread Colors
• Centering a Design
• Traveling Through a Design
• Tracing Process
• Adjusting Speed
Machine Maintenance
• Daily Tasks
• Weekly Plan
• Monthly Plan
• Regular Oiling
• Replacing Needles
• Bobbin Cases
Hooping
• Tightness
• Quality Stabilizer
• Special Fabrics
Stabilizers
• Cutaway vs. Tearaway
• Pre-Cuts vs. Rolls
• When to Use Topping
• Understanding Specialty Stabilizers
Needles
• Selection
• Change Frequency
• Needle Chart for Specialty Thread
Thread
• Choosing General-Purpose Thread
• Using Specialty Threads
• Checking Tension
• Loading Bobbin/Case
Post-Embroidery Process
• Removing Backing & Topping
• Trimming Threads
• General Cleanup
Organization for Efficiency
• Setting Up Stations
• List of Supplies
• Logging Information
• Order Processing
• Cross Training
It’s time to start making an income from your creativity and your embroidery machine. The following five steps are critical to ultimate business success
FULL STORYWhile embroidered and woven patches have similarities, there are differences to be aware of when choosing the best one for your particular decorated apparel application.
FULL STORY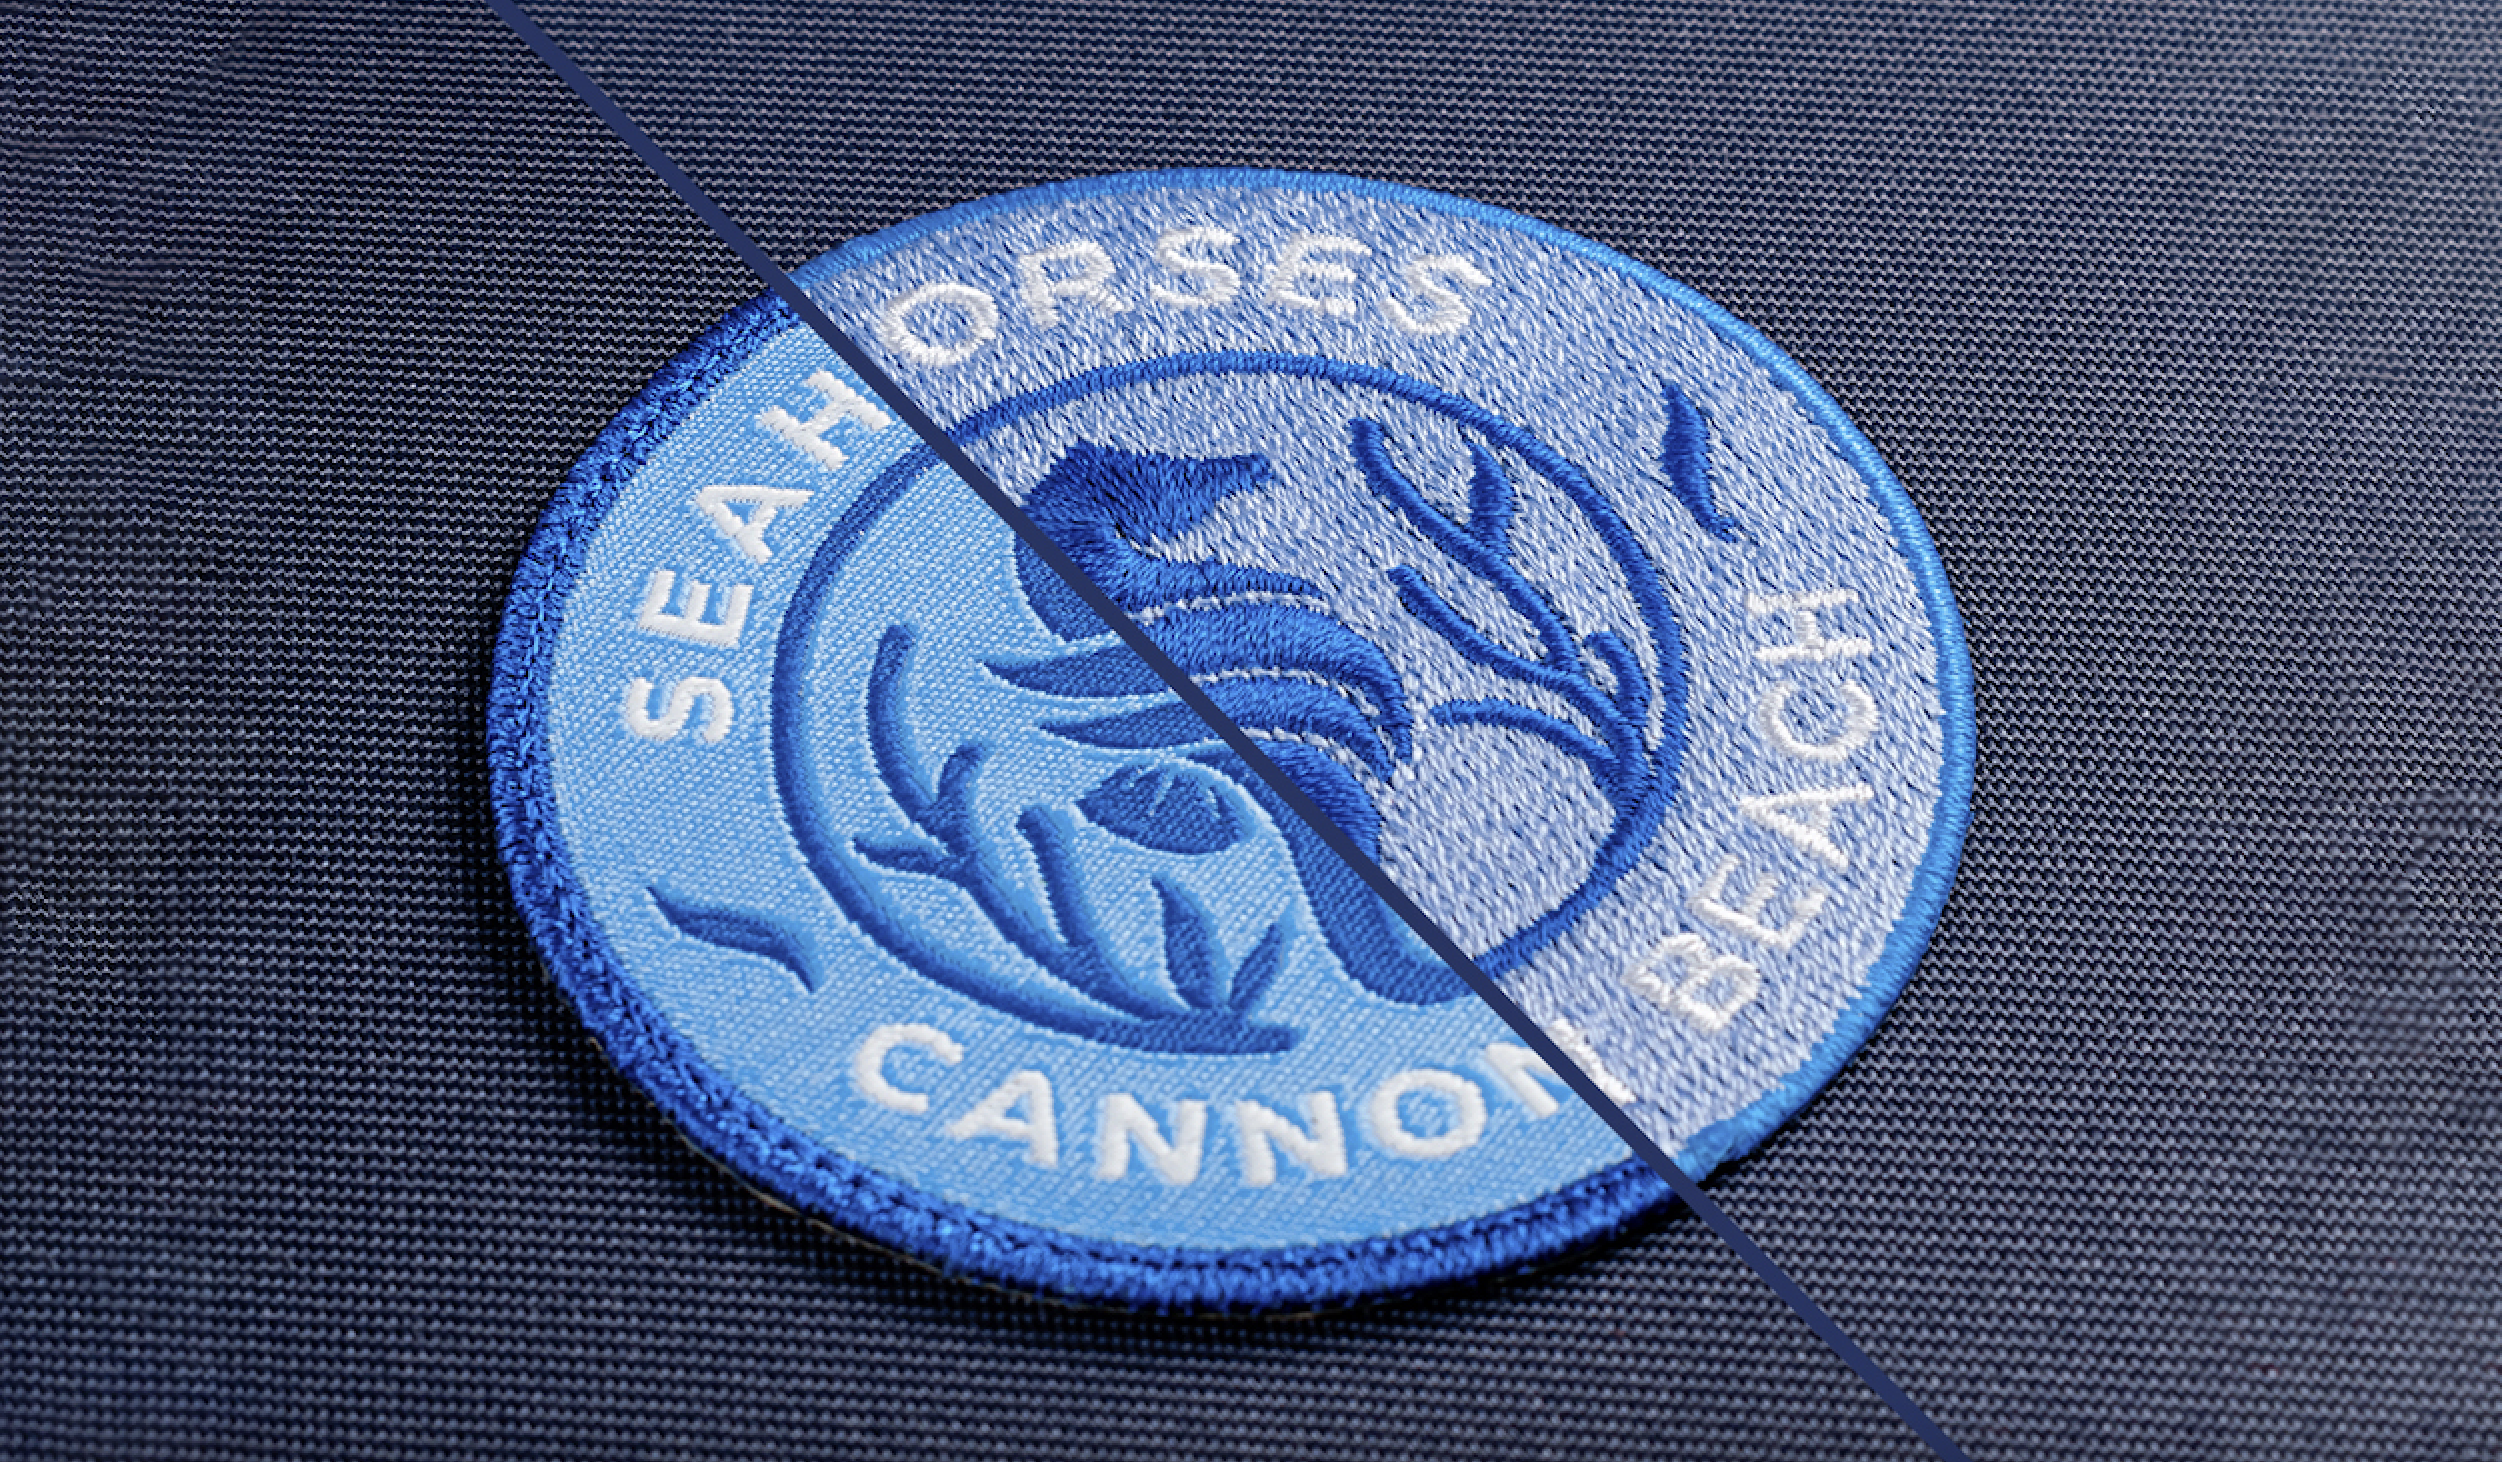
When the weather is warm, savvy embroiderers turn their thoughts to jackets and gear up to make some masterpieces. Wait… what??
FULL STORY