5 Crucial Steps to Starting Out in Embroidery
It’s time to start making an income from your creativity and your embroidery machine. The following five steps are critical to ultimate business success
FULL STORY

Finding new and clever ways to bring in new customers is a challenge. After being in the embroidery business for more than 30 years, I had to come up with fresh ideas every few months.
Traditionally, there always have been mail-outs; newspaper, television and radio ads; and so on. To seal the deal with today’s prospective customers, you need to get creative.
A few years ago, I decided to invite some friends to my house and showcase my embroidered items. I called the occasion an embroidery party. Everyone I asked to attend had known for years what kind of work I did; plus, I had done embroidery for most of the people who attended.
However, they didn’t know all of the different things that could be created for any imaginable occasion. It took lots of work, but in the end it was worth the time.
SETTING UP
It’s best for your first party to include six to eight friends. You can increase the number of guests later, but you should ensure you have enough time for everyone. There will be lots of questions. If you have a helper who thoroughly knows your business, a larger party may work for you.
Your first party also should be personal. Invite friends you really know; they should be people who will give you feedback, but also buy from you. You can use a catalog from a vendor or make a small catalog of items that would fit the theme of the party. You can cut the catalog pages apart, place them in sheet protectors and add them to the sample designs binder.
Next, gather all of the items you want to showcase. You don’t need to embroider each item, but having a large selection will show just how much you have to offer. Do your research and make sure the items you show are available. So don’t buy closeouts or anything your supplier may have discontinued.
Having a rack on which to hang things is very helpful and it ensures items are easy to show. I made hang tags with information, such as available sizes and colors, and placed them on each item. That way, when people are interested they can see if their desired sizes and colors are offered.
WHAT TO OFFER
Making samples on the “slow” days is the way to go. First, make a list of a few occasions for which someone would need a gift. Perhaps you can start with a baby shower, birthday or wedding. Of course, Christmas is the biggest holiday and having parties earlier in the year during a slowdown can give you a big advantage.
Offering free names with each order or other incentives can yield a big-time increase in profits. You also can offer to store prospective customers’ orders until needed, and even gift-wrapping services will be very appealing to busy mothers, business owners and those that just aren’t good at it. Shipping is a great way entice someone with relatives living out of state.
Your best friend in all of this will be a stock designs catalog. Because these types of catalogs already are categorized by occasion, the process of searching for the right designs to use as samples is expedited.
If you can get enough money to stitch a 23-color, 69,000-stitch design, then go for it. You also can feel free to set parameters, such as no more than eight colors or 15,000 stitches in a design — whatever works for you. Friends are friends, but at this point you must regard them as customers.
You can let your party invitees see the catalog, but you must make it immediately clear which of the designs you will and will not offer. If you have an old catalog, you can take the pages apart and just bring what applies to the party. Display them in sheet protectors and a binder.
THE PRESENTATION
Start by getting fabric for your samples. White cotton works best because everything will stitch well on it. Picking the designs for samples is very important. Choose the ones with low stitch counts and few colors. However, it’s fine to use the same colors in several designs. For example, for a baby shower design you can use light pink, dark pink, light blue, medium blue, yellow, light green, tan, and even black for outlines and detail.
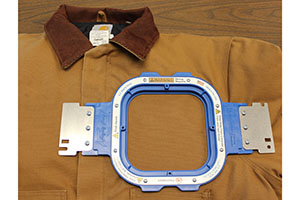
Stitching nine small designs in one frame is the fastest way to get a lot done in a small amount of time. Cut 14″ x 14″pieces of your fabric and use a medium-weight cutaway backing that is the same size. Using fabric spray adhesive, lightly spray the backing and lay the fabric on top. Starting from the middle and proceeding outward, press and smooth the fabric all around so that it adheres to the backing. This keeps it from puckering and the designs will look more professional.
Use a 12″ x 12″ frame to stitch your sample designs. Start in the upper left and work your way across for the first three designs. Drop down to the center left and repeat until you have nine designs in one frame. Cut 1⁄2-inch of backing away all the way around your sample, turn the excess fabric to the back of the sample piece and press it.
If you can, stitch a hem to keep it from fraying. You also can use double-sided tape to hold the excess fabric to the backing on the back of the fabric. This way, the samples can be passed around for everyone to see.
Picking the designs for your samples is very important. I brought in my four grandkids and let them pick out the designs for kids. They knew what they liked, which would sell well for their demographic. Ask friends what they like and make sure to get plenty of opinions.
Making a sample of your lettering styles and sizes also will make it easier for your partygoers to choose what they want. Pick five to six styles and stitch them using the font name so you will immediately know the details of their choices.
You always will have someone who wants you to embroider “Wallace Steven Wadsworth” in 3-inch letters on a left chest. It’s the “I-want-it-as-big-as-possible” syndrome. Seeing that a letter smaller than 1⁄2-inch is really what they want makes it so much easier for everyone.
I’ve also found that picking the most-used colors of thread, stitching them and indicating the color choice is better than trying to bring 20 different cones of thread to each party. For example, stitch the word “RED” in red thread, “NAVY” in navy thread, etc. Keep a master written list of the thread color number so you don’t use the wrong colors.
A word of caution: None of the aforementioned things will work if you don’t have a good order form. This must be done in duplicates so the customer can have a “signed” copy. Also make sure to have room for notes. Along with a space for the size, I added a space for “second” color choice. You also should list the design number and description.
All names should be printed in block and checked for spelling. You may also want to include a disclaimer saying any spelling errors by customers are indeed their fault. Thread colors can be added in the notes section. The customer’s name, address and phone numbers—along with an approximate delivery date—will complete your order form.
All that’s left to do is collect your money and plan your next party.
Connie R. Smith has been in the embroidery industry for more than 30 years and has been an industry speaker and consultant. She also is an award-winning digitizer. For more information or to comment on this article, email Connie at lickatstitch@yahoo.com.
It’s time to start making an income from your creativity and your embroidery machine. The following five steps are critical to ultimate business success
FULL STORYWhile embroidered and woven patches have similarities, there are differences to be aware of when choosing the best one for your particular decorated apparel application.
FULL STORY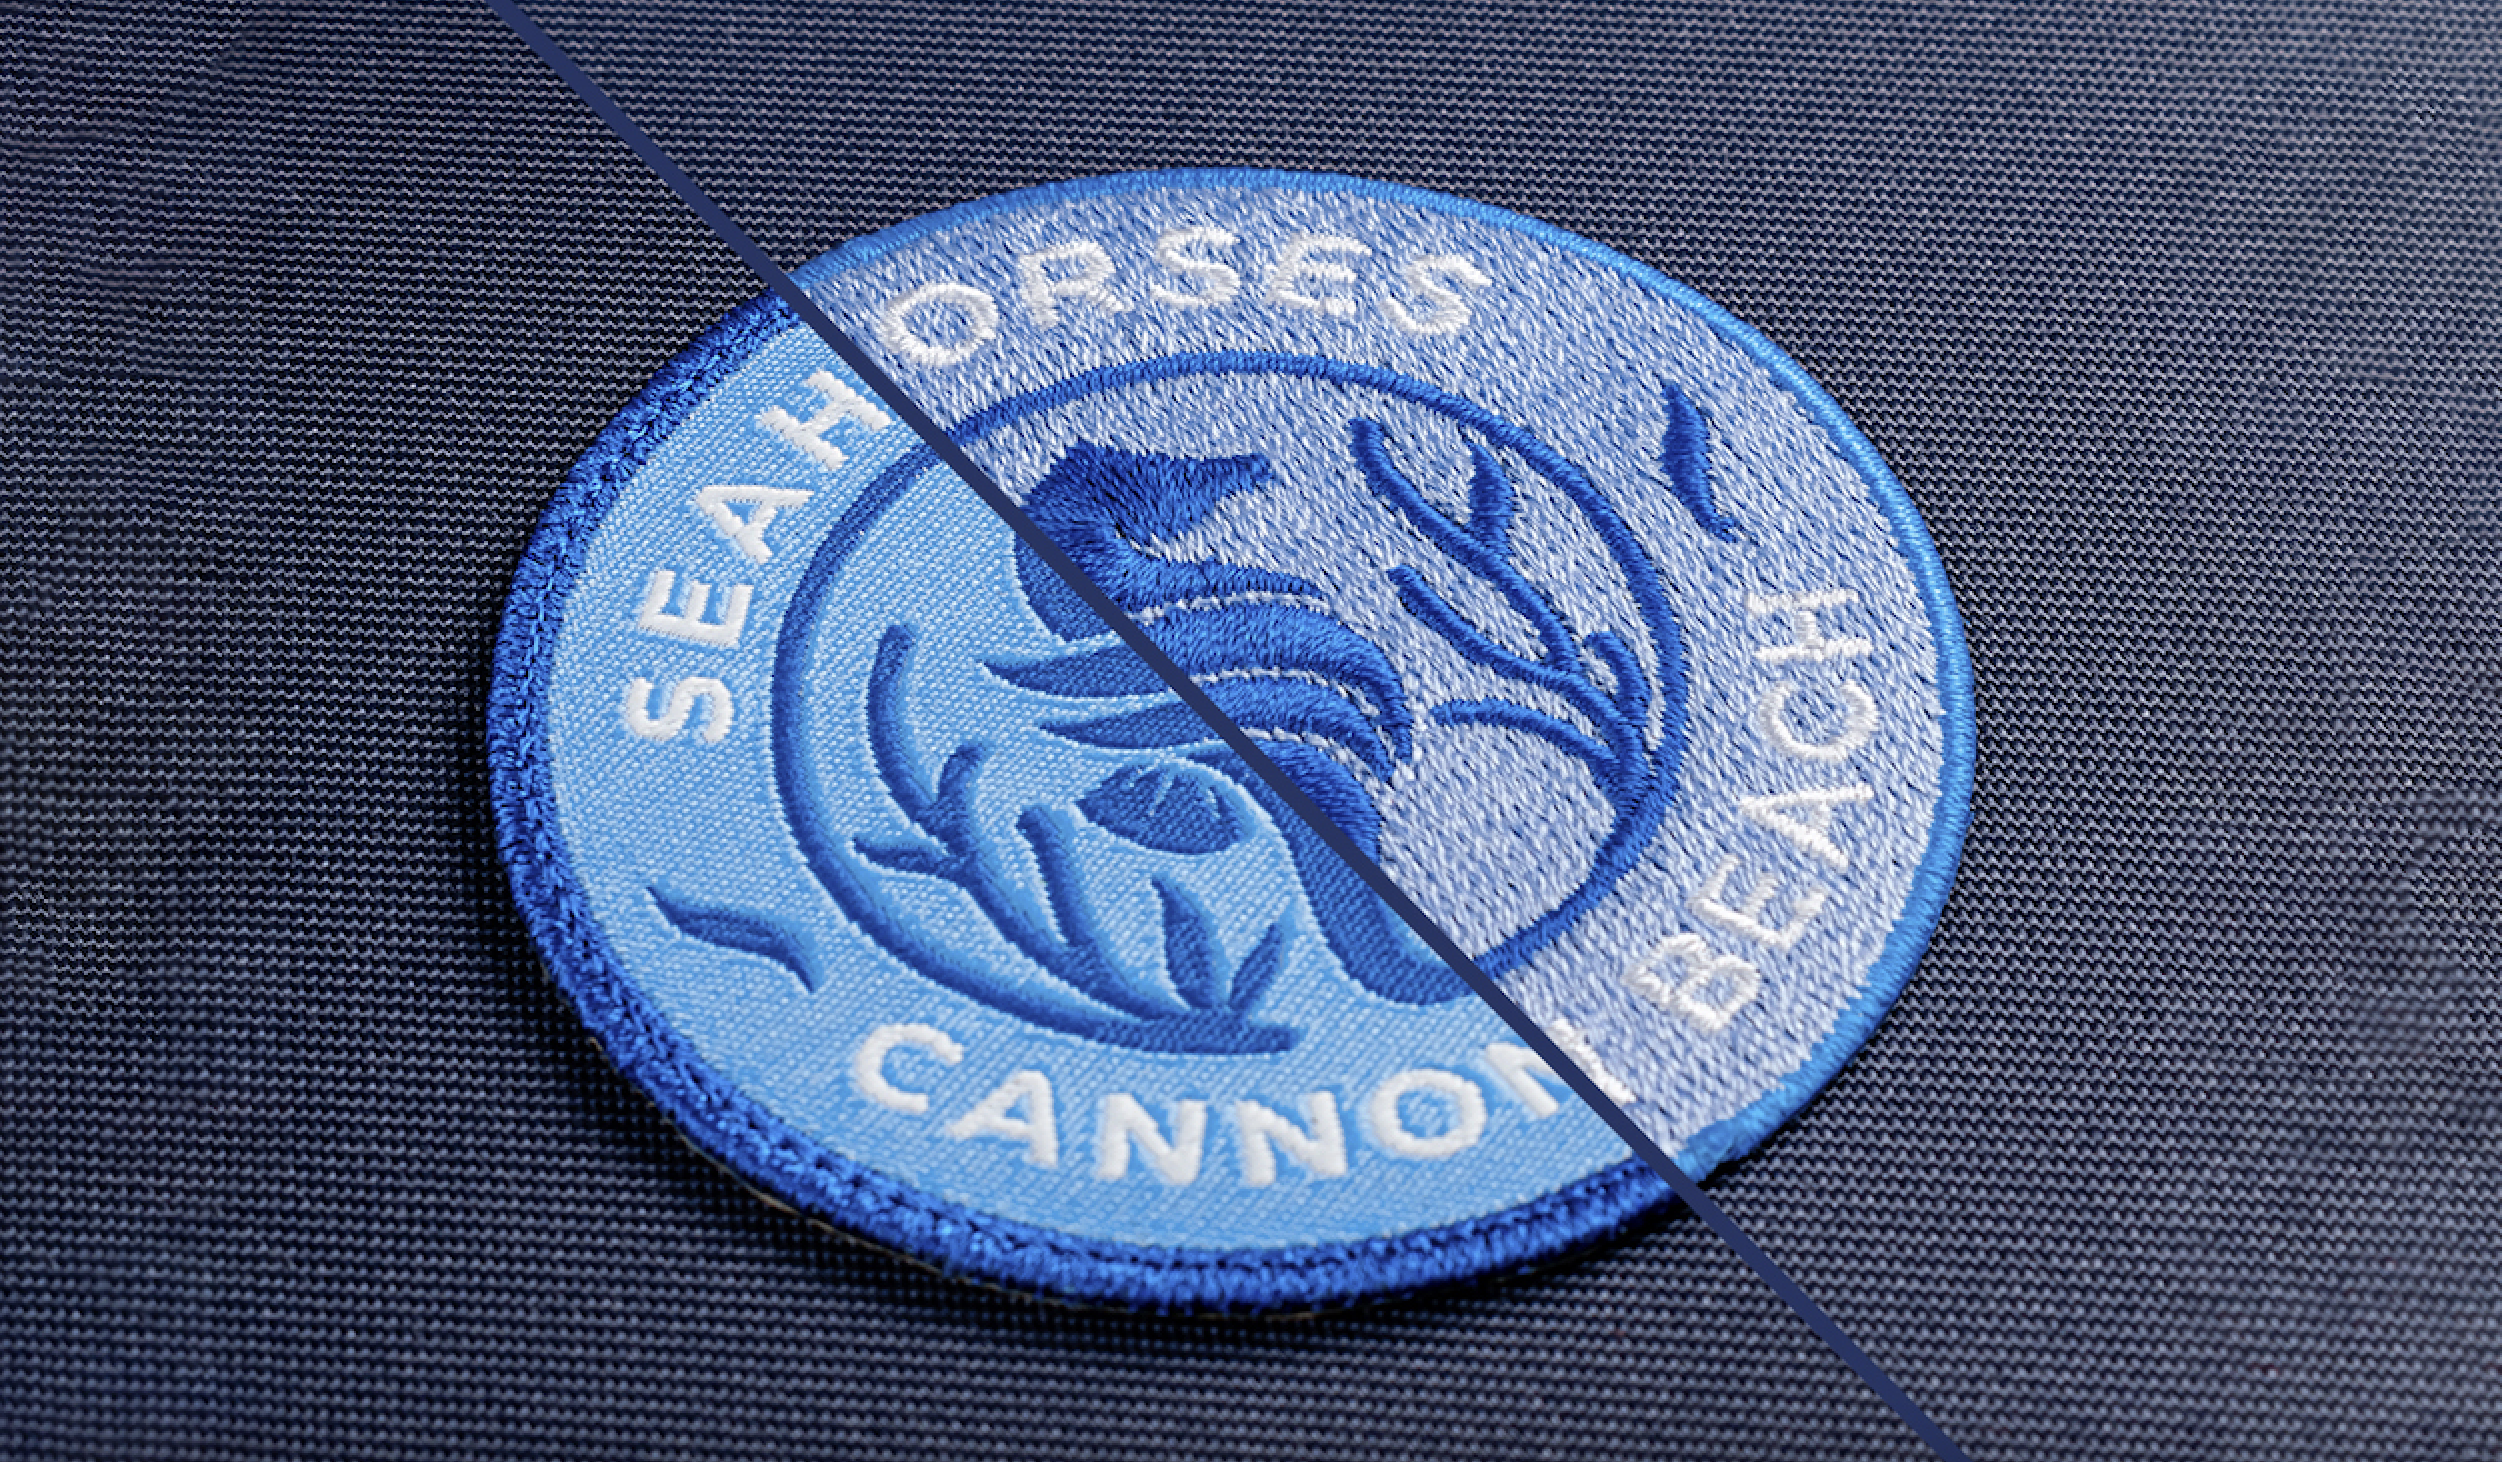
When the weather is warm, savvy embroiderers turn their thoughts to jackets and gear up to make some masterpieces. Wait… what??
FULL STORY