September 21, 2018
Editor’s Note: Poppy Digital Artistry, St Louis, created the allover print volleyball jersey for this article. The company used the process under U.S. patent 8,958,131 “A System and Methods for the Printing on Pre-Constructed Clothing Articles and Clothing Article so Printed.” The patented process is owned by AOP STL., a Poppy Digital Artistry company, which it licenses to third-party manufacturers and allover-print resellers. For more information on Poppy Digital Artistry and its allover print patent, visit poppyda.com.
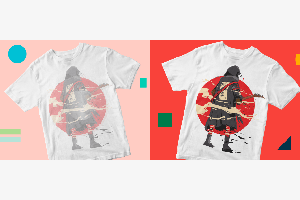
Allover sublimation printing in garment decoration is beginning to revolutionize how consumers shop. A garment style can be selected (as a white polyester blank) — along with a pattern or graphic — and a totally custom garment can be created immediately.
More often than not, this likely will be a one-of-kind creation, depending on the number of garment styles and graphics available. This translates to unlimited customer options and smaller, more manageable vendor inventory.
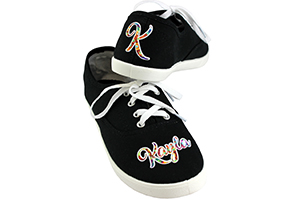
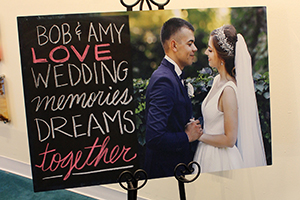
Customization is a major benefit of sublimation printing. And short-run, custom, quick-turn production is not only the future; it’s here now.
The process can be broken into four primary areas: signs/banners; hard substrates, such as mugs and phone cases; fashion; and sports apparel.
Dye-sublimation inks are comprised of a disperse dye suspended in liquid, commonly water. The image is printed on coated heat-resistant, tacky transfer paper as a reverse image of the final design. Through heat pressing, the graphic is transferred from the paper onto white polyester fabric.
The term “sublimation transfer” would imply a print being adhered to a garment’s surface, as is the case with plastisol transfers. But these sublimation prints are permanent, as the dye bonds to the polyester on a molecular level. The resulting print will have absolutely no “hand” or feel on the fabric. Also, when repeatedly worn and laundered, sublimation-printed fabric holds its color beautifully.
The obvious difference between large-format and desktop sublimation printing is the maximum output size you can accomplish. A lesser-known difference is the substantial discrepancy in ink costs. While the ink cost for a single coffee mug would be calculated in dollars on a desktop printer, the same coffee mug image on a large-format printer would be calculated in pennies. Remember, just because your printer is capable of 42- or 62-inch print-width capacity, the paper roll can be much smaller.
What Prints and What Doesn’t
The standard fabric for sublimation printing is white polyester. In the case of hard substrates, items with a polyester coating are ideal. And yes, you may have seen colored garments with sublimation decoration. You can print light colors, but since the sublimation inks are transparent, the graphic will take on the garment color.
For instance, if you print a blue ball on a light-yellow polyester garment, the resulting ball will be a shade of green. So, if a color shift is not important, you can print light-colored, 100% polyester fabrics as well.
You also can print on a blended fabric, such as 50% polyester/50% cotton, but be aware that sublimation inks only will bond with the polyester. The finished print will have a washed-out, retro appearance, but there are decorators who print and sell such items. Of course, the higher the polyester content in the blended fabric, the better the finished print will appear.
Garments made of 100% cotton, even if white, are not an option with sublimation inks, as they will not adhere to cotton fabric.
Sublimation printing on finished garments sometimes can show white voids where the fabric was folded and, therefore, not decorated. These white areas in the image, usually around seams, are referred to as “smiles” by some industry professionals. They are more acceptable in the fashion marketplace, as long as your customer understands the process and the chance that they may appear.
There are two primary options for heat pressing large-format sublimation transfers. One is a large, flatbed base with a horizontal heat press similar to a tabletop, swing-away model used for smaller products. These may have a heat element on the top, or on the top and bottom.
The second is a calender rotary heat press where the garment and transfer paper are fed through rollers. The transfer and polyester fabric feed between a roller that is heated with oil or via electricity, and then pinched between a felt pad that is pressed against the heat with a secondary small drum.
Start to Finish
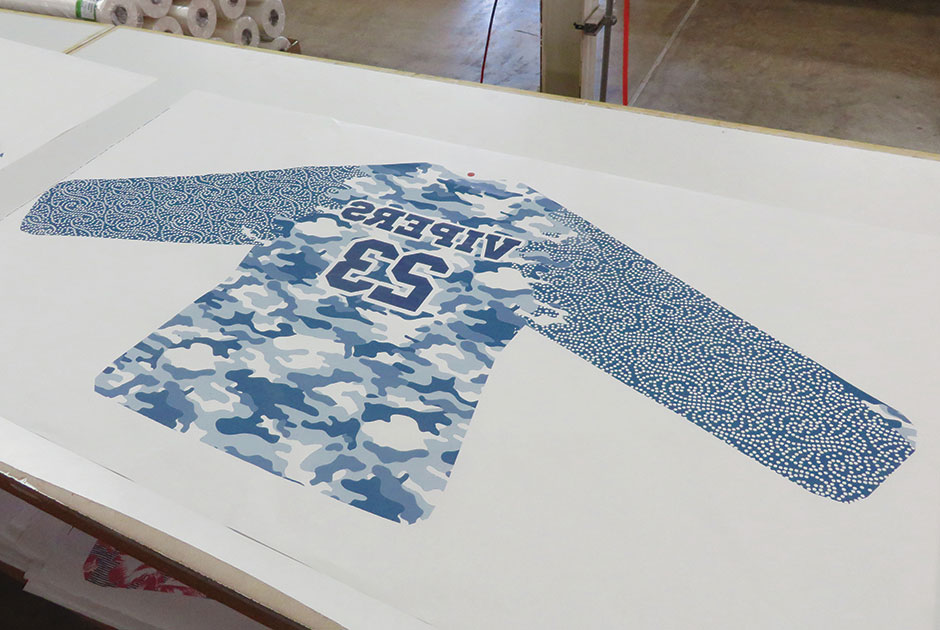
As with all garment decoration, the allover-printing process begins in a shop’s art department. A template of the entire shirt is created, the size of which depends on the range of sizes you intend to print. The allover pattern will exceed the shirt’s outer edge, sleeves and body, allowing enough ink coverage to fully decorate the largest garment you will be printing. Customization, including individual team numbers, is a key advantage of this decoration method, as each garment can be unique.
A sublimation transfer is output as a reverse image on a large-format inkjet printer. In the example for this article, the output is 44 inches wide and the file was output at 720 x 720 dpi.
The sublimation transfer is laid out, ink side up, on a preparation table. Because of the garment’s non-rigid nature, a tacky paper is best suited to hold the material in place without movement, which would cause ghosting in the finished print.
A fully assembled, 100% white polyester long-sleeve ladies’ top from Vapor Apparel is placed on the oversized image on the transfer sheet. The graphic is visible outside the garment in all locations.
A second transfer (with front image) is carefully laid on top of the long-sleeve shirt so both front and back can be heat applied at the same time. Craft paper is then placed inside the shirt’s tail and collar to avoid transferring the image to the inside of the garment.
The shirt then is loaded onto the heat press. For this sample, the operator used a dual-platen heat press. Time, temperature and pressure will vary between garments, so testing always is important before beginning production. The heat press was set at 384˚F and 50 PSI pressure for 29 seconds.
After heat setting, the shirt is completely finished, with a full-coverage decoration on the front and back. The top transfer sheet is peeled away first. The paper is a one-time-use product, so it will be discarded after printing. The shirt then is lifted away from the bottom transfer sheet. The finished volleyball jersey is ready for gameday wear.
See the full gallery above to observe the step-by-step process.
Terry Combs is a 35-plus-year veteran of the garment printing industry and has managed production shops large and small across the United States. He has written hundreds of management and technical articles for garment-printing publications and spoken at industry events worldwide. He is currently in sales and training with Equipment Zone, Franklin Lakes, N.J. Connect with Terry on his website, terrycombs.com.
April 12, 2023 | Sublimation
As you work toward becoming an experienced dye-sublimation apparel, general merch or customized promotional items decorator, you may come across one or more obstacles, like your transfers coming out blurry, dull or faded.
FULL STORY
June 1, 2022 | Sublimation
How many times have you wished that you could sublimate a product that wasn’t polymer-based or polymer-coated.
FULL STORY
October 8, 2021 | Sublimation
I think the philosophy of lagniappe should be taught at every school and practiced by every business. A French word meaning “unexpected extra gift,” lagniappe often is used in Louisiana. In fact, sublimation decoration is a fantastic example of this.
FULL STORY


